Why Your Hands Hurt More Than Your Legs After a Descent — and What Your Setup Is Telling You
Quick Answer: Hands and forearms give out on descents because of arm pump — forearm muscles gripping continuously without release, which restricts their own blood flow — plus setup problems that force the grip: brake levers angled too steep, levers set for two fingers instead of one, grips the wrong diameter, too-stiff suspension feeding every impact into your palms, and a death-grip habit that follows fear. The fix stack, in order of payoff: one-finger braking with properly positioned levers, moderate lever angle (30 to 45 degrees, flatter for steep terrain), softer initial suspension settings, loose-grip technique drills, and only then strength work.
Everyone assumes descending is a leg workout, then the trail tips down and it is the forearms that tap out first — fingers that will not close around the water bottle at the bottom, that ache opening jars two days later. The legs have suspension helping them. The hands are holding the only two contact points that steer and stop, and every setup mistake on the bike gets paid for there.

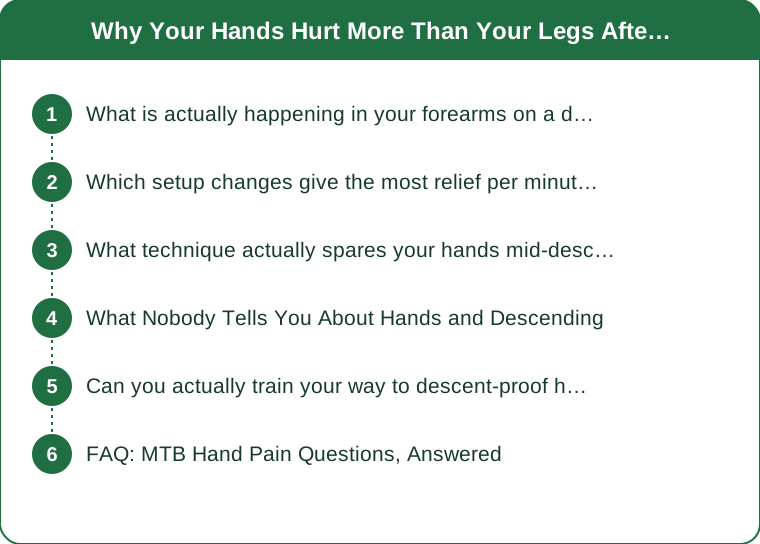
What is actually happening in your forearms on a descent?
A muscular traffic jam with a name: arm pump.
Gripping is forearm muscle work, and descending asks for it continuously — squeeze the bars, feather the brakes, absorb the chatter, repeat for four minutes without a single full release. Sustained contraction above roughly a third of maximum effort compresses the blood vessels running through those same muscles, restricting the flow that clears metabolic byproducts. The muscles keep working, the byproducts accumulate, pressure builds inside the fascial compartment, and the burning-then-wooden sensation riders call pump arrives on schedule. It is the same mechanism motocross racers battle — theirs is famous enough to get surgery for; ours responds to setup and technique.
Braking multiplies it. Every hard brake drives your body weight forward into your palms while your fingers pull levers against resistance — deceleration is a load your arms catch — and dragging brakes down a long descent means that load never lets up. Riders who brake in short, decisive bursts hand their forearms recovery windows mid-descent; riders who drag give them none.
Vibration finishes the recipe: high-frequency trail chatter demands constant micro-gripping just to keep hands seated, and fatigue from vibration arrives faster than from smooth load.
The reason this is good news: every input — grip duration, brake load, vibration — has a setup dial and a technique fix. Pump is not a fitness verdict. It is a settings report.
Which setup changes give the most relief per minute of wrenching?
Five adjustments, ranked by payoff. All are free except the last.
Move your levers inboard for one-finger braking. Modern hydraulic brakes need one finger — the index — with the lever positioned so its hook lands at that finger’s first joint. Slide the clamps inboard until that alignment happens. This single change frees three fingers to grip the bar full-time, and it is the highest-value five minutes in this entire article.
Flatten your lever angle. Levers angled steeply down force wrists into extension on descents, loading palms and straining forearms. Set them 30 to 45 degrees below horizontal — and if your local trails are steep, err flatter, because the bike’s descent angle adds to your wrist angle. The check: in your standing attack position on a slope, your wrist should run straight from forearm to knuckles.
Reach adjustment so the lever meets a curled finger. A lever that sits too far out makes your index finger work extended at its weakest. Dial reach until braking happens in the finger’s strong mid-curl.
Soften your suspension’s first third. A fork set too firm or with too much compression damping transmits chatter straight to your palms. Set sag properly (typically 15 to 20 percent front), back off low-speed compression, and let the fork eat what it was bought to eat.
Fit grips to your hand, not the stock spec. Small hands on fat grips grip harder to hold on; thin-to-medium diameters with a soft-but-not-squirmy compound suit most women’s hands better than the chunky defaults. If palms go numb rather than pumped, ergonomic flanged shapes and slightly softer compounds address the nerve-pressure version of the problem.
What technique actually spares your hands mid-descent?
Three habits, drilled cheap on easy trails, cashed in on hard ones.
Brake in bursts, not drags. Strong, short braking on the straight sections between features, then off the levers through the rough and the corners. Burst braking is better bike control anyway — a braking wheel absorbs bumps badly — and every off-the-levers second is a forearm recovery window. Drill: pick a familiar descent and consciously halve your total brake-on time; most riders find speed unchanged and hands transformed.
Grip like a bird, not a vise. The bar needs guiding, not strangling — light hands with the hook of the fingers, letting the bike move under you. The death grip is fear’s signature, and it feeds itself: tight arms transmit more chatter, which feels scarier, which tightens the grip. Drill: on smooth sections, deliberately loosen to the minimum grip that keeps control, and notice the bike gets calmer, not wilder.
Carry the weight in your feet. Heavy feet, light hands is the oldest coaching phrase in descending because it is the whole architecture: standing with dropped heels on flat-ish pedals or a strong platform position, hips back, arms as suspension rather than as support columns. Your legs are the biggest muscles you own; every kilogram they carry is one your palms do not. Drill: descend an easy trail and periodically flutter your fingers open — if you cannot, your hands were holding you up, and your hips need to shift back.
And between features, shake out one hand at a time on any calm section — racers do it every straight for a reason.

What Nobody Tells You About Hands and Descending
Fear pump is real and it does not respond to wrenching. Ride the same descent twice — once at your edge, once well within it — and the death-grip difference is the whole story: gripping force tracks perceived danger, not actual trail difficulty. The implication runs both directions: setup fixes reduce the physical load, but riding slightly below your maximum on long descents is itself a hand-endurance strategy, and sessioning a scary feature until it bores you is forearm training by other means.
New-bike pump and new-season pump are their own categories — the first weeks after a bike change or a summer layoff always run pumpier while your body recalibrates, which is worth knowing in late summer when trail season peaks and everyone is riding their most consecutive days of the year. Rest days matter for forearms exactly as they do for legs; pump on Sunday after a hard Saturday is fatigue, not a setup regression.
Gloves are a bigger variable than their price suggests: a well-fitted thin glove beats both bare hands (blister-prone when sweaty) and thick padded gloves — padding bunches under the palm and demands harder gripping, the opposite of its sales pitch. Snug, thin, with grip-compatible palm material.
Two warning signs deserve respect rather than toughness: numbness and tingling in specific fingers — ring and pinky for ulnar nerve, thumb-side for median — is nerve compression, addressed by grip shape, bar rotation, and hand position variety, not by pushing through. And pump so severe the hand stops obeying mid-descent is a stop-and-recover situation every time; a hand that cannot brake is a safety system offline.
Can you actually train your way to descent-proof hands?
Partly — strength extends the ceiling that setup and technique raise. In that order.
The target is grip endurance, not crushing strength: descents ask forearms to hold moderate force for minutes, so training mimics that. Dead hangs from a pull-up bar are the most efficient tool — accumulate time in 20-to-40-second holds, a few sets, twice a week; they train exactly the sustained-hold quality descending spends. Farmer carries with heavy dumbbells add the full-body bracing dimension. Thick-grip work — a towel draped over the bar for hangs or rows — raises the ceiling further for riders who want it.
Balance the equation with extensor work, the muscles that open your hand: rubber-band finger extensions or reverse wrist curls, high reps, minimal load. Grip-heavy sports chronically overtrain the closers and ignore the openers, which is a known route to elbow irritation — ten minutes a week of extensor work is cheap insurance.
Off the bike, forearms respond in four to six weeks of twice-weekly work — a genuinely fast-adapting muscle group. On the bike, the best training is descending itself with the technique drills above; a season of burst-braking and light-grip habits builds sport-specific endurance no gym exercise fully replicates.
The order of operations matters because training cannot out-lift a bad cockpit: a rider doing dead hangs while descending with steep levers and a death grip is strengthening her way into the same wall. Set up the bike, drill the technique, then let strength extend what they built — that sequence turns the forearms from the first thing to quit into the last.
FAQ: MTB Hand Pain Questions, Answered
My hands go numb rather than pumped — same fixes?
Overlapping but not identical: numbness is usually nerve compression (ulnar at the palm’s heel, median through the wrist) and responds most to grip diameter and shape, bar roll, wrist-neutral lever angle, and consciously varying hand position on calm sections. If specific fingers go numb repeatedly, or numbness lingers hours after rides, treat it as a setup emergency and worth a bike-fit or medical conversation — nerves complain politely before they complain permanently.
Do carbon bars or fancy grips actually reduce hand fatigue?
Some, at the margins: carbon bars and quality compounds damp high-frequency chatter measurably, and riders with resolved setups notice the refinement. But the ranking is unforgiving — lever position, suspension settings, and technique account for most of the problem, and no bar upgrade rescues a death grip on badly angled levers. Spend the free fixes first.
Should I use wrist braces or compression sleeves for descents?
Braces immobilize, which fights the active wrist movement descending requires — they are rehab tools, not riding equipment, unless specifically prescribed. Compression sleeves are harmless and some riders like the warmth and proprioception, but treat them as comfort, not correction; the correction list is above.
How long should hand recovery take after a big descent day?
Pump should resolve within minutes to an hour; general forearm fatigue by the next day; mild soreness after an unusually big day, two days like any muscle. Persistent weakness, morning finger stiffness that lasts, or grip pain that survives a rest week is beyond normal adaptation and worth professional eyes — riders normalize hand symptoms that they would never ignore in a knee.
TL;DR:
- Descent hand pain is arm pump — continuous gripping restricting its own blood flow — amplified by braking loads, vibration, and fear.
- Free setup fixes first: one-finger lever position, 30-to-45-degree lever angle, proper reach, softer initial suspension, right-sized grips.
- Technique pays next: burst braking with recovery windows, bird-not-vise grip, heavy feet and light hands, shake-outs on every calm section.
- Train grip endurance last — dead hangs and carries twice weekly, plus extensor work — and respect numbness as a nerve signal, not a toughness test.
Before the next ride, spend the five minutes: slide the levers inboard, flatten them, check reach. Then descend something familiar braking half as often as usual — the hands that used to claw at the bottom will tell you which paragraph above was yours.
Keep Reading
This article is for general informational and styling purposes only. Fit, sizing, and product availability may vary.